개요
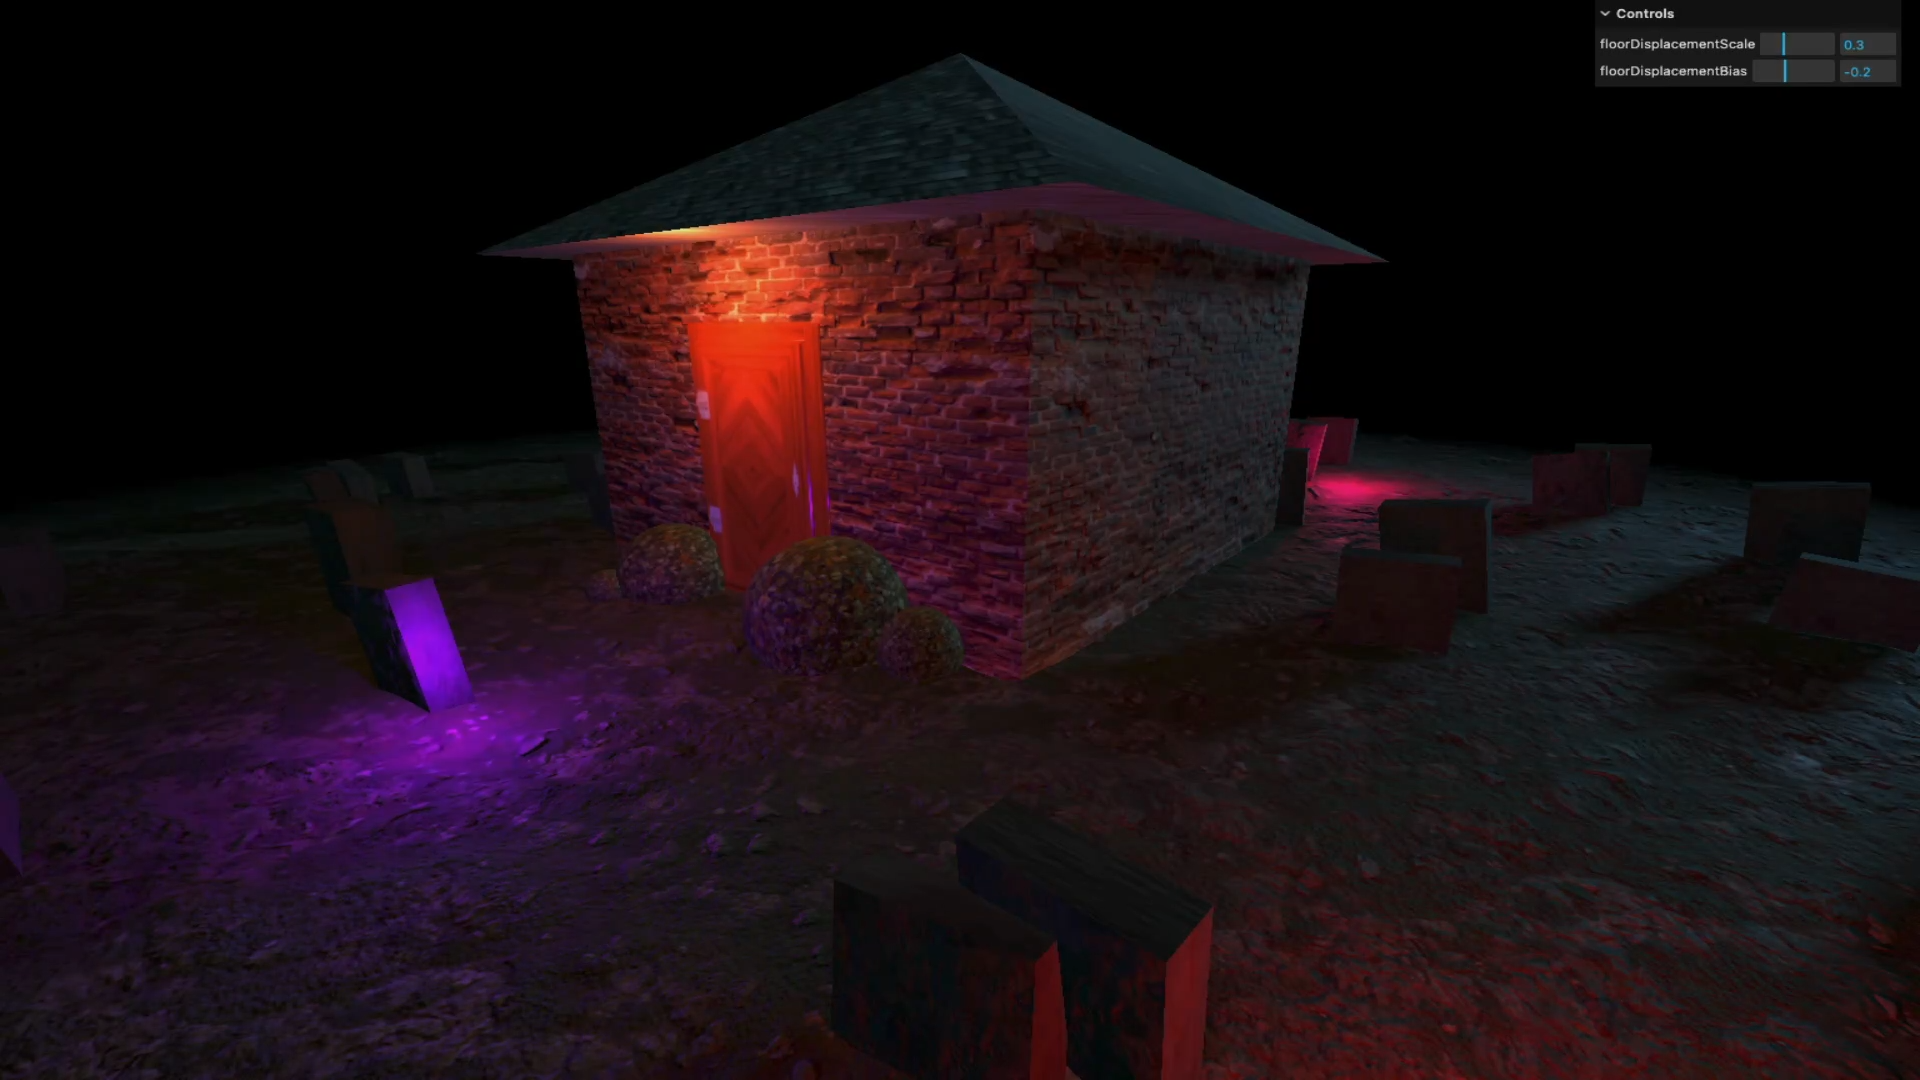
지금까지 배운 내용들을 정리해 처음부터 끝까지 직접 유령의 집을 만들어보는 프로젝트입니다.
미리만들어진 3D 모델을 불러오는 대신, Three.js가 제공하는 기본 도형(Primitives)만으로 프로젝트를 진행하면서, 기본 도형을 자유자재로 다루게 되며, 해당 지식은 Three.js 개발의 튼튼한 기초가 됩니다.
텍스처는 고품질의 무료 에셋을 제공하는 Poly Haven에서 직접 고르고, 다운로드하고, Scene에 최적화하여 적용하는 방법까지 함께 알아봅시다.
Poly Haven • Poly Haven
The Public 3D Asset Library
polyhaven.com
기본 환경 설정
본격적으로 집을 짓기 전에, 몇 가지 중요한 개념을 짚고 넘어가겠습니다.
- 시간처리(Timer): 기존의 Clock 대신, 탭 비활성화 시 발생하는 시간 오류를 방지하고 프레임 관리가 더 용이한 Timer 클래스를 사용합니다.
- 단위 통일: 가장 중요한 부분이며, 3D 공간에서의 혼란을 막기 위해 1 유닛 = 1 미터로 기준을 정합니다. 이렇게 하면 "문 높이는 2.2미터니까 PlaneGeometry 높이를 2.2로 해야지"처럼 직관적인 작업이 가능해집니다.
- 기본 조명과 제어: AmbientLight와 DirectionalLight로 기본적인 빛을 설정하고, OrbitControls로 장면을 자유롭게 둘러볼 수 있도록 준비합니다.
집 모델링 하기
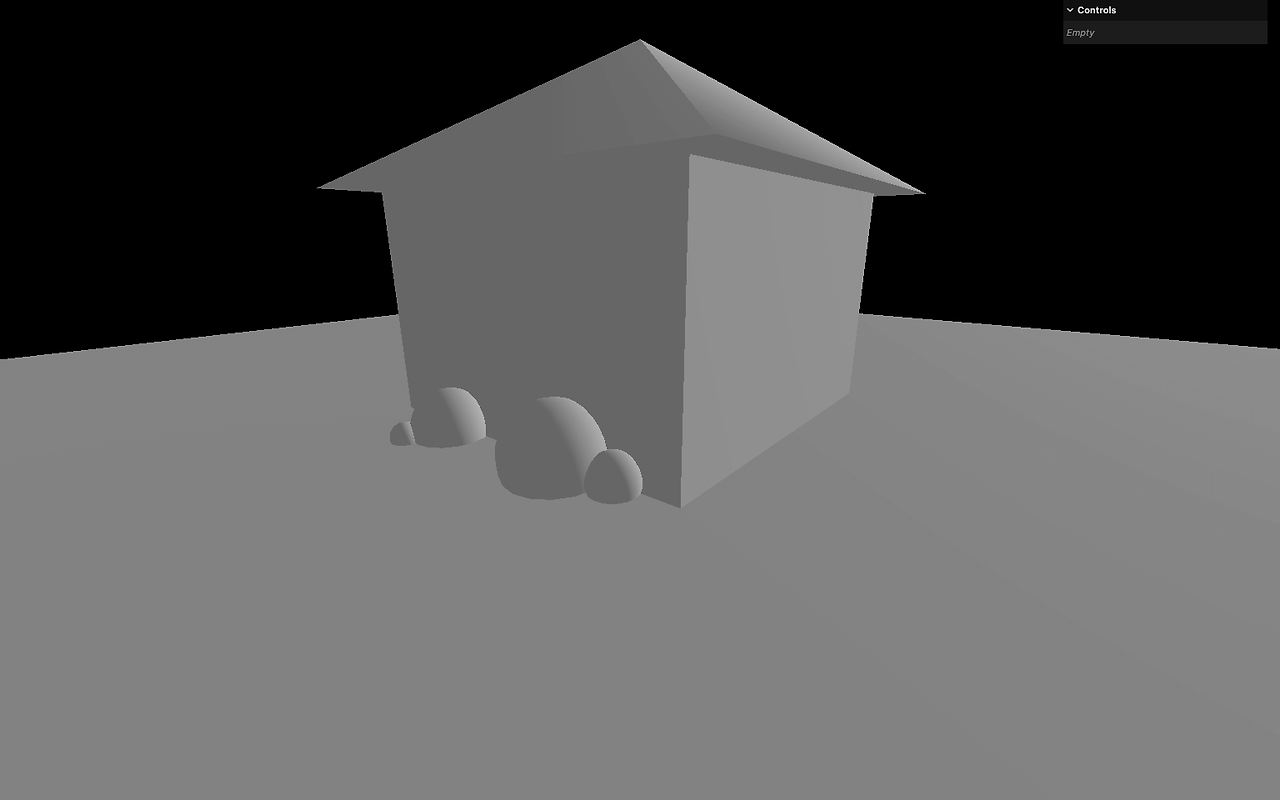
이제 본격적으로 집의 구조를 만들어 보겠습니다. 나중에 집 전체를 한번에 옮기거나 크기를 조절할 수 있도록 THREE.Group을 만들어 모든 요소를 그 안에 담을 겁니다.
바닥 (Floor)
가장 먼저 캐릭터가 딛고 설 땅, 바닥을 만듭니다. PlaneGeometry를 사용하고, y축 0을 기준으로 삼기 위해 x축으로 -90도 회전시켜 평평하게 눕혀줍니다.
// Floor
const floor = new THREE.Mesh(
    new THREE.PlaneGeometry(20, 20),
    new THREE.MeshStandardMaterial() // 나중에 텍스처로 교체됩니다.
);
floor.rotation.x = -Math.PI * 0.5;
scene.add(floor);
벽과 지붕(Walls & Roof)
집의 본체인 벽은 BoxGeometry로, 지붕은 ConeGeometry를 변형해서 만듭니다. 원뿔의 면 수를 4개로 지정하면 간단하게 피라미드 모양의 지붕을 만들 수 있죠.
각 객체의 중심점이 중앙에 있다는 것을 기억하고 높이의 절반만큼 y축 위치를 옮겨주어야 바닥 위에 제대로 서게 됩니다.
// House Group
const house = new THREE.Group();
scene.add(house);

// Walls
const walls = new THREE.Mesh(
    new THREE.BoxGeometry(4, 2.5, 4),
    new THREE.MeshStandardMaterial()
);
walls.position.y = 2.5 / 2; // 높이의 절반
house.add(walls);

// Roof
const roof = new THREE.Mesh(
    new THREE.ConeGeometry(3.5, 1.5, 4), // radius, height, segments
    new THREE.MeshStandardMaterial()
);
roof.position.y = 2.5 + 1.5 / 2; // 벽 높이 + 지붕 높이의 절반
roof.rotation.y = Math.PI * 0.25; // 45도 회전하여 벽과 모서리를 맞춤
house.add(roof);
문과 덤불 (Door & Bushes)
문은 간단하게 PlaneGeometry로 만듭니다. 이때 벽과 정확히 같은 위치에 있으면 렌더링이 깨지는 Z-fighting 현상이 발생하므로, z 위치를 0.01처럼 아주 살짝만 앞으로 빼주는 것이 팁입니다.
덤불은 SphereGeometry를 사용해 만듭니다. 4개의 덤불에 모두 같은 Geometry와 Material을 공유시켜주면 메모리를 아끼는 최적화를 할 수 있습니다.
// Door
const door = new THREE.Mesh(
    new THREE.PlaneGeometry(2.2, 2.2),
    new THREE.MeshStandardMaterial()
);
door.position.y = 1;
door.position.z = 2 + 0.01; // Z-fighting 방지
house.add(door);

// Bushes
const bushGeometry = new THREE.SphereGeometry(1, 16, 16);
const bushMaterial = new THREE.MeshStandardMaterial();

const bush1 = new THREE.Mesh(bushGeometry, bushMaterial);
bush1.scale.set(0.5, 0.5, 0.5);
bush1.position.set(0.8, 0.2, 2.2);
// ... 다른 덤불들도 위치와 크기를 조절하여 추가
house.add(bush1, bush2, bush3, bush4);
묘비 배치하기
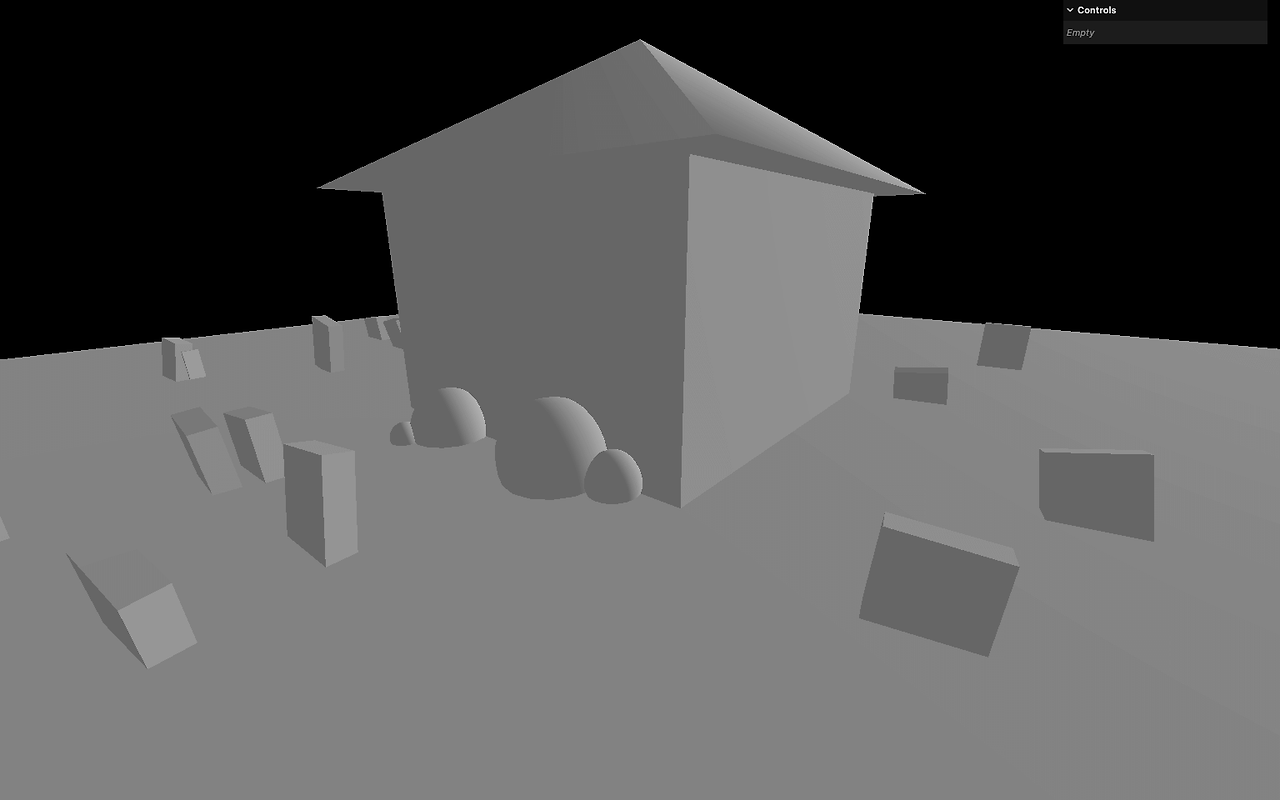
for 반복문과 삼각함수를 이용하면 객체를 원형으로 쉽게 배치할 수 있습니다. Math.random()으로 각도와 거리에 무작위성을 부여하여 집 주변에 30개의 묘비를 자연스럽게 흩뿌려 봅시다.
const graves = new THREE.Group();
scene.add(graves);

const graveGeometry = new THREE.BoxGeometry(0.6, 0.8, 0.2);
const graveMaterial = new THREE.MeshStandardMaterial();

for (let i = 0; i < 30; i++) {
    const angle = Math.random() * Math.PI * 2; // 0 ~ 360도 사이의 랜덤 각도
    const radius = 3 + Math.random() * 4; // 3 ~ 7 사이의 랜덤 거리
    const x = Math.sin(angle) * radius;
    const z = Math.cos(angle) * radius;

    const grave = new THREE.Mesh(graveGeometry, graveMaterial);
    grave.position.set(x, Math.random() * 0.3, z); // 높이도 살짝 랜덤하게
    grave.rotation.y = (Math.random() - 0.5) * 0.4; // 기울기도 랜덤하게
    graves.add(grave);
}
PBR 텍스처링
이제 밋밋한 흰색 도형에 생명을 불어넣을 차례입니다. 물리 기반 렌더링(PBR) 텍스처를 사용해 사실적인 질감을 표현해 보겠습니다. TextLoader로 이미지를 불러와 MeshStandardMaterial의 속성에 연결하면 됩니다.
- map: 기본 색상 (Color)
- aoMap: 그림자가 닿기 힘든 곳을 더 어둡게 만들어 입체감을 줌 (Ambient Occlusion)
- roughnessMap: 표면의 거칠기
- normalMap: 빛을 속여 표면에 미세한 굴곡이 있는 것처럼 표현
- displacementMap: 정점(vertex)을 실제로 이동시켜 높낮이를 만듦
바닥 텍스처를 적용하는 전체 코드는 다음과 같습니다. 다른객체들도 이와 유사한 방식으로 텍스처를 적용합니다.
// Textures
const textureLoader = new THREE.TextureLoader();

// Floor Textures
const floorAlphaTexture = textureLoader.load('./floor/alpha.jpg');
const floorColorTexture = textureLoader.load('./floor/coast_sand_rocks_02_1k/coast_sand_rocks_02_diff_1k.jpg');
//... ao, normal, displacement 등 나머지 텍스처 로드

// 색상 텍스처의 컬러 스페이스 설정
floorColorTexture.colorSpace = THREE.SRGBColorSpace;

// 텍스처 반복 설정
floorColorTexture.repeat.set(8, 8);
floorColorTexture.wrapS = THREE.RepeatWrapping;
floorColorTexture.wrapT = THREE.RepeatWrapping;
//... 다른 텍스처들도 반복 설정

// Floor Material & Mesh
const floor = new THREE.Mesh(
    new THREE.PlaneGeometry(20, 20, 100, 100), // displacement를 위해 분할 수 증가
    new THREE.MeshStandardMaterial({
        alphaMap: floorAlphaTexture, // 가장자리를 투명하게
        transparent: true,
        map: floorColorTexture,
        aoMap: floorARMTexture, // ARM은 AO, Roughness, Metalness가 합쳐진 텍스처
        roughnessMap: floorARMTexture,
        metalnessMap: floorARMTexture,
        normalMap: floorNormalTexture,
        displacementMap: floorDisplacementTexture,
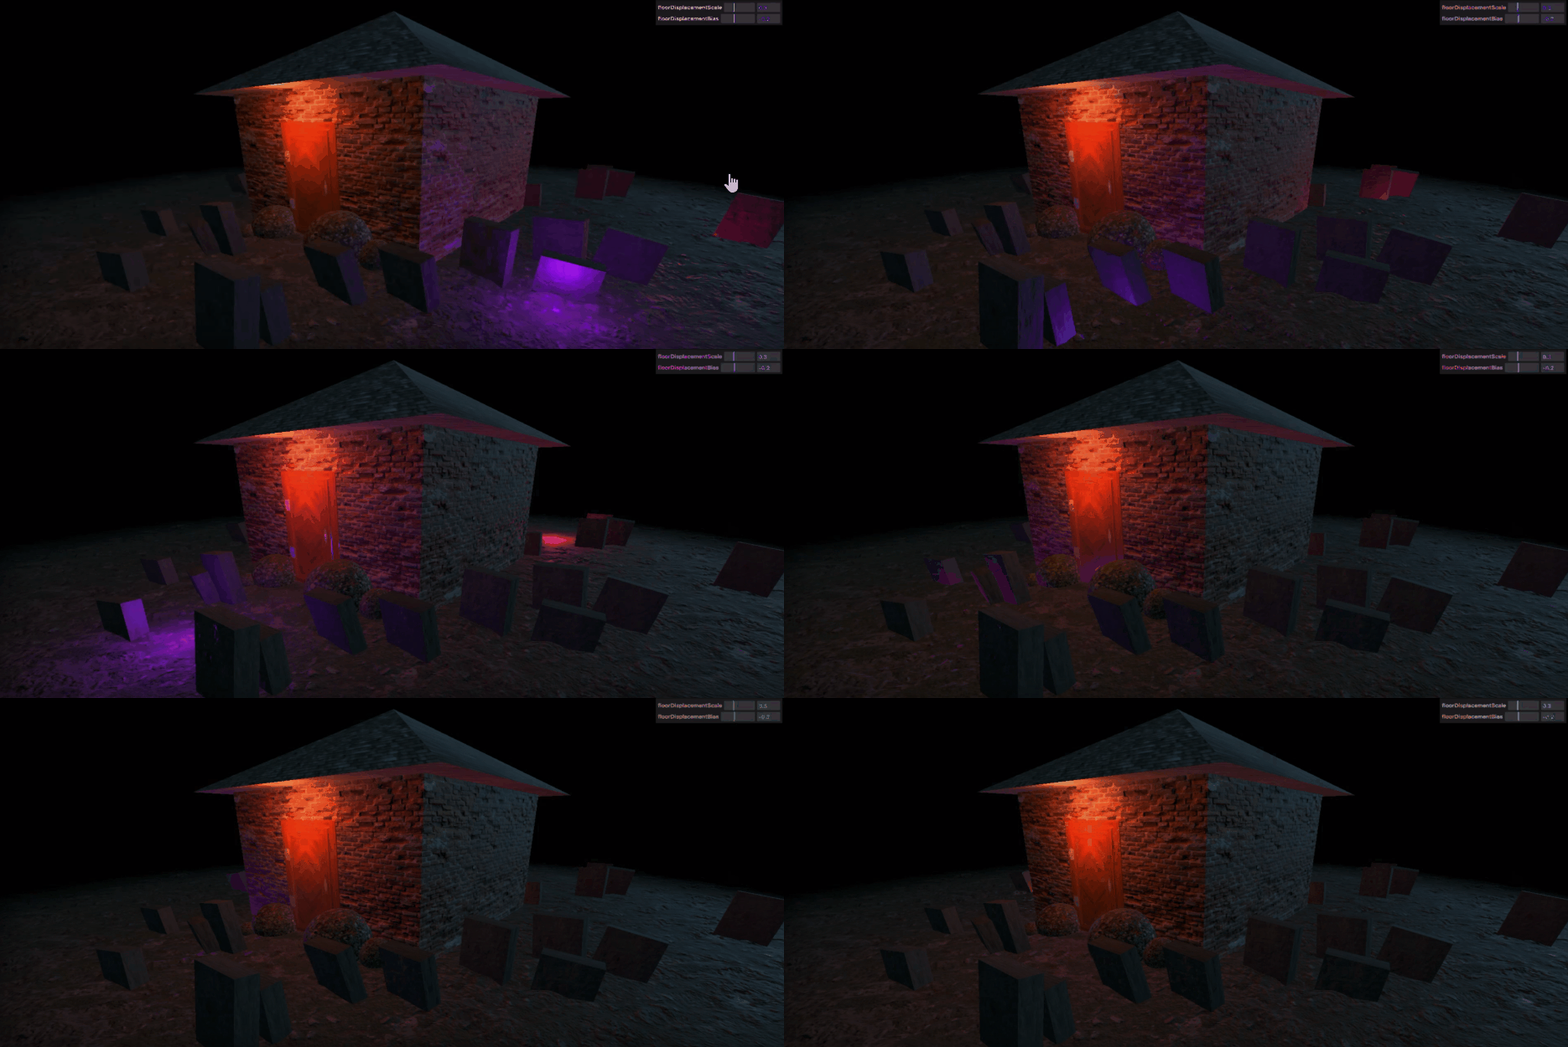
        displacementScale: 0.3,
        displacementBias: -0.2
    })
);
한계와 해결 팁
기본 도형만으로 작업하다 보면 몇 가지 문제에 부딪히게 됩니다.
- 지붕/덤불 텍스처 왜곡: ConeGeometry나 SphereGeometry는 극점(pole)으로 갈수록 UV 좌표가 한 점으로 모여 텍스처가 심하게 왜곡(a-hole)됩니다. 완벽한 해결을 위해서는 Blender 같은 3D 툴에서 직접 모델링 하고 UV를 펴주는 작업이 필요하지만, 프로그래밍 관점에서 간단하게 문제가 되는 부분을 회전시켜 숨기는 트릭을 사용했습니다.
- 묘비 측면 텍스처 늘어짐: BoxGeometry는 UV가 모든 면에 고르게 적용되지 않아, 일부 면에서 텍스처가 늘어나 보일 수 있습니다. 이 또한 커스텀 모델링으로 해결할 수 있는 부분입니다.
조명
유령의 집 분위기를 위해 월광을 중심으로 조명을 설정합니다.
// Ambient light
const ambientLight = new THREE.AmbientLight('#86cdff', 0.275);
scene.add(ambientLight);

// Directional light
const directionalLight = new THREE.DirectionalLight('#86cdff', 1);
directionalLight.position.set(4, 5, -2);
scene.add(directionalLight);- AmbientLight와 DirectionalLight의 색상을 월광을 나타내는 #86cdff로 변경합니다.
- AmbientLight의 강도(intensity)를 0.275로 낮춰, 그림자 부분의 디테일을 살리면서도 전체적인 어둠을 유지합니다.
- DirectionalLight의 강도는 1로 설정해 월광의 존재감을 명확히 합니다.

현관문 위에는 PointLight를 사용해 전구 효과를 줍니다.
// Door light
const doorLight = new THREE.PointLight('#ff7d46', 5);
doorLight.position.set(0, 2.2, 2.5);
house.add(doorLight);- 문 위에 PointLight를 new THREE.PointLight('#ff7d46', 5)로 생성하여, 따뜻한 주황색('#ff7d46') 빛을 비춥니다.
- 이 조명은 house 객체에 추가되어 집의 일부처럼 움직입니다.

유령
모델링이 없는 상황에서는 PointLight를 이용해 유령을 표현합니다.
// Ghosts
const ghost1 = new THREE.PointLight("#8800ff", 6);
const ghost2 = new THREE.PointLight("#ff0088", 6);
const ghost3 = new THREE.PointLight("#ff0000", 6);
scene.add(ghost1, ghost2, ghost3);

// In the tick function
const tick = () => {
  const elapsedTime = timer.getElapsed();

  // Ghost 1
  const ghost1Angle = elapsedTime * 0.5;
  ghost1.position.x = Math.cos(ghost1Angle) * 4;
  ghost1.position.z = Math.sin(ghost1Angle) * 4;
  ghost1.position.y = Math.sin(ghost1Angle) * Math.sin(ghost1Angle * 2.34) * Math.sin(ghost1Angle * 3.45);

  // Ghost 2
  const ghost2Angle = -elapsedTime * 0.38;
  ghost2.position.x = Math.cos(ghost2Angle) * 5;
  ghost2.position.z = Math.sin(ghost2Angle) * 5;
  ghost2.position.y = Math.sin(ghost2Angle) * Math.sin(ghost2Angle * 2.34) * Math.sin(ghost2Angle * 3.45);

  // Ghost 3
  const ghost3Angle = elapsedTime * 0.23;
  ghost3.position.x = Math.cos(ghost3Angle) * 6;
  ghost3.position.z = Math.sin(ghost3Angle) * 6;
  ghost3.position.y = Math.sin(ghost3Angle) * Math.sin(ghost3Angle * 2.34) * Math.sin(ghost3Angle * 3.45);
};- ghost1, ghost2, ghost3 세 개의 PointLight를 각각 다른 색상과 강도로 생성합니다.
- 각 유령은 tick 함수 내에서 삼각 함수를 이용해 집 주변을 원형으로 돌고, 위아래로 움직이는 애니메이션을 구현합니다.
- Math.cos()와 Math.sin()을 사용해 x와 z좌표를 설정하고, elapsedTime 변수에 다른 값을 곱해 각 유령의 속도와 회전 반경을 다르게 만듭니다.
- y 좌표는 여러 개의 Math.sin() 함수를 조합해 불규칙한 움직임을 만들어냅니다.
https://www.desmos.com/calculator?lang=ko
Desmos | 그래핑 계산기
www.desmos.com
해당 사이트를 참고해 나만의 불규칙한 sin() 조합을 만들어보세요.

그림자
장면에 현실감을 더하기 위해 그림자를 활성화합니다.
- 먼저 renderer.shadowMap.enabled = true로 그림자 렌더링을 활성화합니다.
- renderer.shadowMap.type = THREE.PCFSoftShadowMap로 부드러운 그림자 효과를 적용합니다.
- directionalLight와 세 유령(ghost1, ghost2, ghost3)의 castShadow 속성을 true로 설정하여 그림자를 드리우게 합니다.
- 각 3D 모델에 따라 그림자를 드리우거나(castShadow), 그림자를 받도록(receiveShadow) 설정합니다.
- walls: castShadow = true, receiveShadow = true
- roof: castShadow = true
- floor: receiveShadow = true
// Renderer settings
renderer.shadowMap.enabled = true;
renderer.shadowMap.type = THREE.PCFSoftShadowMap;

// Cast and receive shadows
directionalLight.castShadow = true;
ghost1.castShadow = true;
ghost2.castShadow = true;
ghost3.castShadow = true;

walls.castShadow = true;
walls.receiveShadow = true;
roof.castShadow = true;
floor.receiveShadow = true;
- 묘비(graves)는 for...of 루프를 사용해 graves.children의 모든 자식 객체에 castShadow와 receiveShadow를 설정합니다.
for (const grave of graves.children) {
  grave.castShadow = true;
  grave.receiveShadow = true;
}
성능 최적화를 위해 그림자 맵(shadow map)의 크기와 카메라 범위를 조정합니다.
- directionalLight의 그림자 맵은 256x256로 줄이고, 카메라의 top, right, bottom, left를 8과-8로 설정하며, near와 far값을 조정해 그림자가 잘리지 않도록 합니다.
- 유령들의 그림자 맵도 256x256로 줄이고 far값을 10으로 설정해 불필요한 영역의 그림자를 계산하지 않도록 합니다.
// 퍼포먼스를 위한 매핑
directionalLight.shadow.mapSize.width = 256;
directionalLight.shadow.mapSize.height = 256;
directionalLight.shadow.camera.top = 8;
directionalLight.shadow.camera.right = 8;
directionalLight.shadow.camera.bottom = -8;
directionalLight.shadow.camera.left = -8;
directionalLight.shadow.camera.near = 1;
directionalLight.shadow.camera.far = 20;

ghost1.shadow.mapSize.width = 256;
ghost1.shadow.mapSize.height = 256;
ghost1.shadow.camera.far = 10;
// ghost1를 기반으로 2, 3도 복사
하늘
칙칙한 검은색 배경 대신 Sky 클래스를 이용해 실감 나는 하늘을 구현합니다.
- three/addons/objects/Sky.js에서 Sky를 불러옵니다.
- const sky = new Sky()로 인스턴스를 생성하고, scene.add(sky)로 장면에 추가합니다.
- 하늘이 장면에 맞게 커지도록 sky.scale.set(100, 100, 100)로 크기를 조절합니다.
- sky.material.uniforms 속성을 통해 turbidity, rayleigh, mieCoefficient 등의 값을 설정하여 하늘의 분위기를 조정합니다. 이 값들은 셰이더(Shader)의 파라미터로, 셰이더 장에서 더 자세히 다루게 됩니다.
// Sky
import { Sky } from "three/addons/objects/Sky.js";
const sky = new Sky();
sky.scale.set(100, 100, 100);
scene.add(sky);
sky.material.uniforms["turbidity"].value = 10;
sky.material.uniforms["rayleigh"].value = 3;
sky.material.uniforms["mieCoefficient"].value = 0.1;
sky.material.uniforms["mieDirectionalG"].value = 0.95;
sky.material.uniforms["sunPosition"].value.set(0.3, -0.038, -0.95);
안개
으스스한 분위기를 더하기 위해 안개 효과를 추가합니다.
- THREE.Fog와 THREE.FogExp2 두 가지 방법이 있습니다.
- THREE.Fog(color, near, far): 시작점(near)과 끝점(far)을 기준으로 안개 밀도를 선형적으로 조절합니다.
- THREE.FogExp2(color, density): 카메라에서 멀어질수록 안개가 기하급수적으로 짙어지는, 좀 더 현실적인 안개 효과를 제공합니다.
- 배경(하늘) 색상과 어울리는 '#04343f'를 선택하여 scene.fog에 FogExp2를 적용합니다.
// Fog
scene.fog = new THREE.FogExp2('#04343f', 0.1);
텍스처 최적화
장면의 로딩 속도와 GPU 성능을 향상시키기 위해 텍스처 파일을 최적화합니다.
- JPG 파일들을 최신 이미지 포맷인 WEBP로 변환합니다.
- WEBP는 높은 압축률과 투명도를 지원합니다.
- Squoosh와 같은 온라인 툴을 사용해, 각 텍스처의 크기(예: 256, 512, 1024)를 줄이고 품질(Quality)을 80으로 설정하여 파일 크기를 크게 감소시킵니다.
- 텍스처 파일의 확장자를 .jpg에서 .webp로 변경하면 됩니다.
- 이러한 최적화를 통해 13MB에 달했던 텍스처 파일 용량이 1.6MB 정도로 줄어들어, 사용자 경험이 크게 개선됩니다.
Squoosh
Simple Open your image, inspect the differences, then save instantly. Feeling adventurous? Adjust the settings for even smaller files.
squoosh.app
결론
이 프로젝트를 통해 Three.js의 기본 도형들을 활용하여 복잡한 장면을 구성하는 방법과, PBR 텍스처, 조명, 그림자, 그리고 배경 효과를 적용하여 완성도 높은 3D 환경을 만드는 과정을 경험했습니다.
특히 성능 최적화를 위해 텍스처 용량을 줄이고 그림자 렌더링 설정을 조절하는 것은 실제 프로젝트에서 매우 중요한 부분입니다.
이러한 지식을 바탕으로 여러분만의 독창적인 3D 프로젝트를 시작해 보세요. Three.js가 제공하는 무궁무진한 가능성을 탐험하며, 더 멋진 작품을 만들어낼 수 있을 겁니다.
'Three.js > Class techniques' 카테고리의 다른 글
| [threejs-journey 2-6] Scroll based animation (4) | 2025.08.16 |
|---|---|
| [threejs-journey 2-5] Galaxy Generator (0) | 2025.08.13 |
| [threejs-journey 2-4] Particles (0) | 2025.08.12 |
| [threejs-journey 2-2] shadows (1) | 2025.07.23 |
| [threejs-journey 2-1] Lights (4) | 2025.07.15 |


